Easy Terracotta Pumpkin DIY Ideas
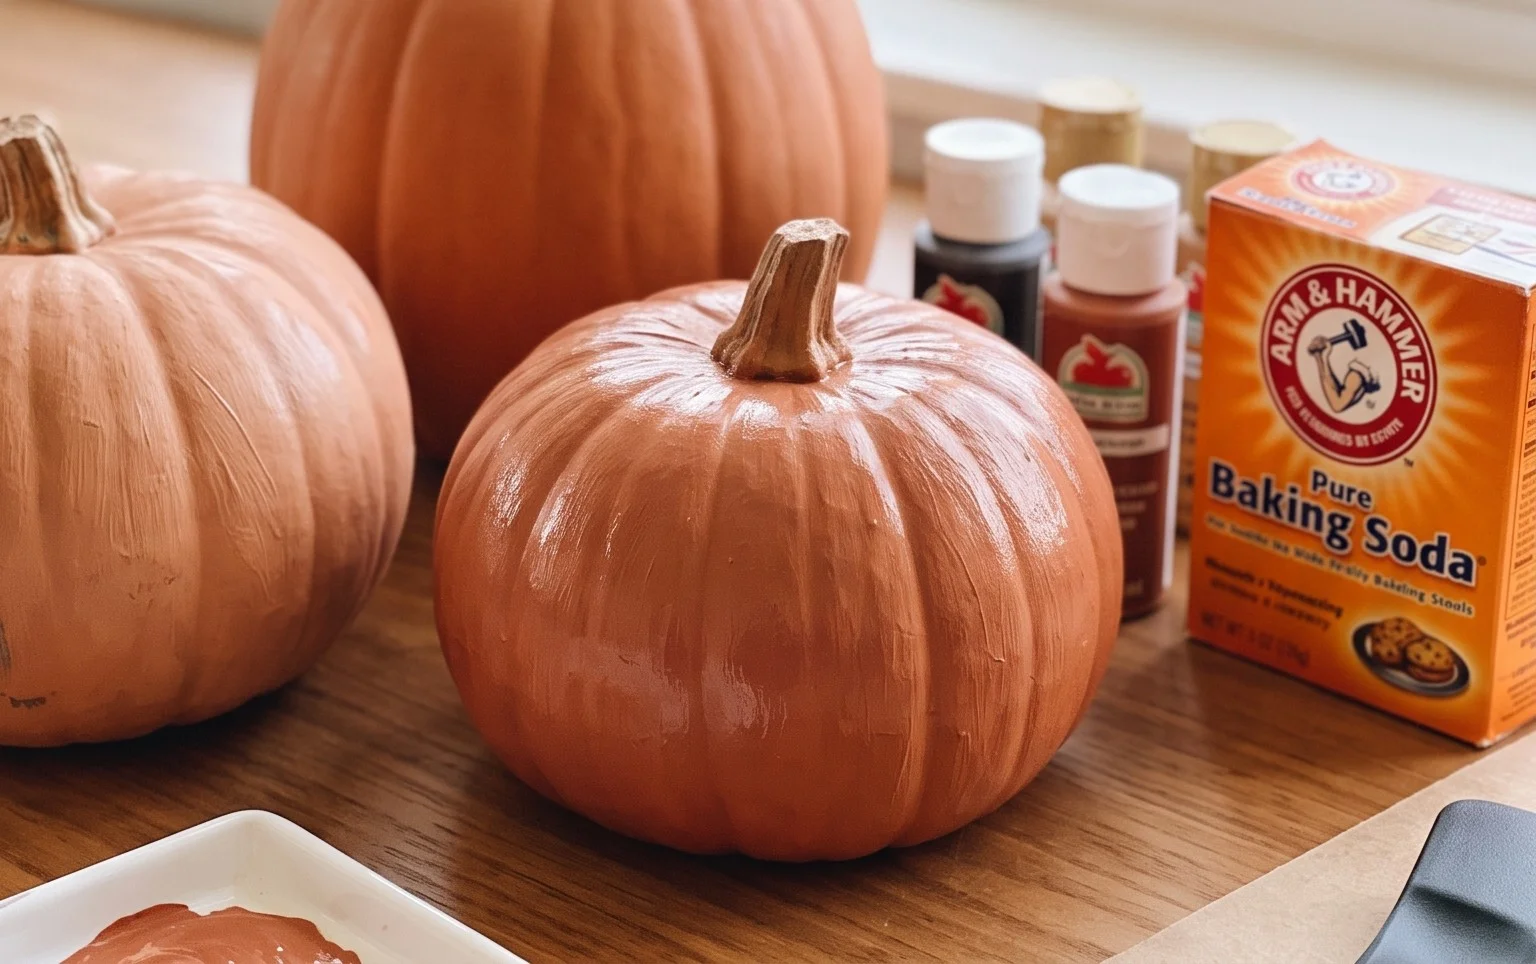
Terracotta pumpkin DIY tutorials are your secret weapon this fall! Are you tired of seeing those same old, mass-produced decorative pumpkins cluttering up your shelves or feeling a little…uninspired? I totally get it. We all want our homes to feel cozy and festive, but sometimes the holiday decor aisle leaves us wanting more unique charm. Imagine a set of charming, rustic pumpkins, each with its own imperfect beauty, bringing a warm, earthy glow to your mantelpiece or entryway. They feel handmade, special, and utterly charming. And the best part? This project is surprisingly affordable, costing you just a few dollars for supplies, and can be completed in under an hour! In this guide, I’ll walk you through every simple step, from gathering your materials to achieving that perfect terracotta finish, so you can create your own bespoke autumn accents.
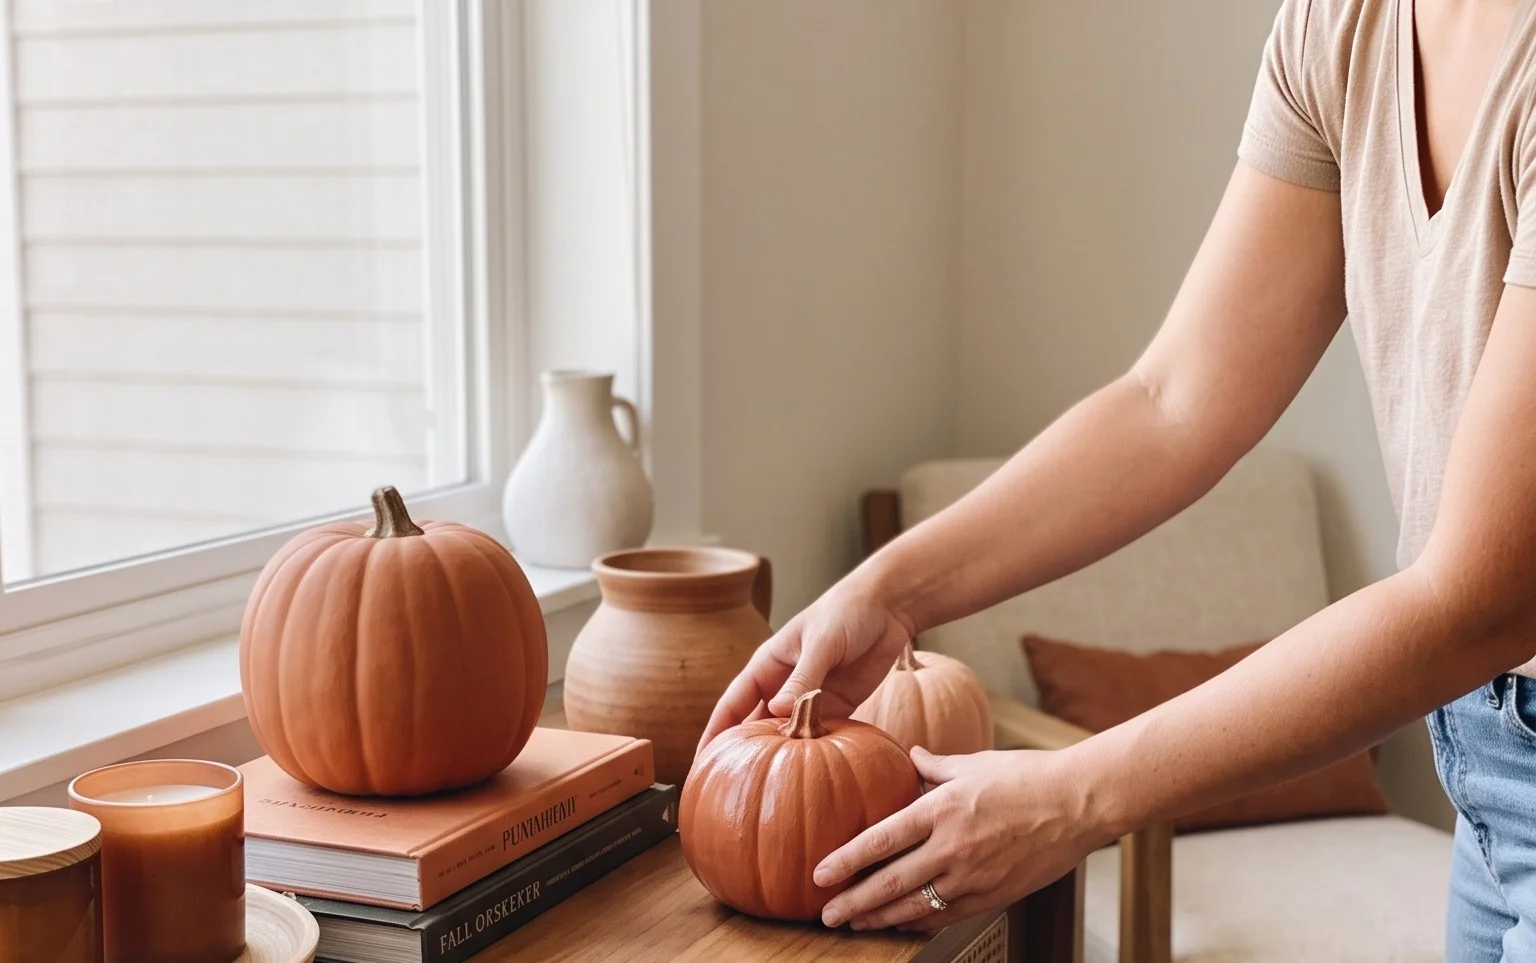
Crafting Cozy Autumn Charm: Your Terracotta Pumpkin DIY Tutorial
As the crisp air ushers in the season of falling leaves and warm cider, my home starts to crave that quintessential autumn embrace. And what says autumn more than pumpkins? While the real deal is lovely, they’re fleeting. This year, I wanted something a little more lasting, a touch more unique, and with that gorgeous, earthy terracotta vibe that’s so on-trend. So, I embarked on a little DIY project: crafting my own terracotta pumpkins! They’re incredibly satisfying to make, add a beautiful rustic touch to any space, and are surprisingly versatile. Let me walk you through how I made mine, and how you can too.
What You’ll Need and A Rough Cost Breakdown
Before we dive in, let’s talk about what you’ll need to gather. The beauty of this project is its simplicity and affordability. You probably have many of these items already!
* **Terracotta Pots:** For the main pumpkin body, you’ll need several terracotta pots in varying sizes. I recommend at least three to create a nice visual cluster. A good starting point is a medium-sized pot (around 6-8 inches in diameter) for the base, a smaller one (4-6 inches) for the middle, and a tiny one (2-4 inches) for the top. These can be found at garden centers, craft stores, or even dollar stores.
* *Rough Cost:* $3 – $10 per pot, so around $9 – $30 for a set of three.
* **Terracotta Saucers:** You’ll need one saucer per pot to create the pumpkin’s segmented ridges. The saucer should be slightly larger than the diameter of the pot it’s attached to.
* *Rough Cost:* $1 – $4 per saucer, so around $3 – $12 for a set of three.
* **Acrylic Paint:** A matte terracotta or burnt orange acrylic paint is ideal. I also like to have a creamy white or antique white on hand for subtle highlights or a lighter, aged look. You’ll also need a touch of brown or dark brown for the stem.
* *Rough Cost:* $2 – $5 per small bottle, so around $6 – $15 for three colors.
* **Paintbrushes:** A few different sizes will be helpful – a larger one for base coats, and smaller ones for details and blending.
* *Rough Cost:* $5 – $15 for a set.
* **Craft Glue or Hot Glue Gun:** A strong adhesive is essential for sticking the components together. A hot glue gun is quick and effective, but a strong craft glue like E6000 will provide a very durable bond.
* *Rough Cost:* $5 – $15 for glue or a hot glue gun and sticks.
* **Optional Embellishments:** Twine or raffia for a rustic stem, a bit of faux greenery, or even some small cinnamon sticks if you want to add extra texture.
* *Rough Cost:* Minimal, often using items you already have.
So, for a good set of three, you’re looking at an estimated total cost of roughly $23 – $72, depending on where you shop and what you already own. That’s a fantastic price for unique, handmade decor!
Measuring and Planning Before You Start
Before you grab your paintbrushes, take a moment to plan. This is where the magic really starts to take shape.
First, **visualize your pumpkin cluster.** How many will you make? Where will they live? I like to arrange mine together on a mantelpiece or a side table, so I consider how their sizes will look together. A large, medium, and small configuration usually works beautifully.
Next, **examine your chosen pots and saucers.** Do the saucers fit nicely on top of the pots? You want them to sit relatively flush to create that characteristic pumpkin shape. If one is a bit wobbly, you might need to find a different saucer or consider adding a bit of filler to the inside of the pot before attaching the saucer to give it a stable base.
Then, **think about scale.** If you have very large pots, you’ll need correspondingly larger saucers. If you’re aiming for smaller, more delicate pumpkins, select smaller pots and saucers.
Finally, **consider your color palette.** Are you going for a traditional deep orange, a lighter creamy pumpkin hue, or perhaps even a painted white or grey for a more modern, neutral look? Having your colors in mind will guide your paint choices. I love a classic terracotta orange, but sometimes I’ll add a touch of white to a deeper orange to achieve a more muted, aged look.
Your Step-by-Step Terracotta Pumpkin Creation Process
Now for the fun part – actually making your pumpkins! This is where your planning comes to life.
1. **Prepare Your Surfaces:** Ensure your terracotta pots and saucers are clean and dry. Give them a quick wipe with a damp cloth if they’re dusty.
2. **Paint the Pumpkin Body:** Take your main terracotta or orange acrylic paint and apply a generous coat to the outside of each terracotta pot. Let this dry completely. You’ll likely need a second coat for good coverage, especially if you’re painting over a darker terracotta. Let each coat dry thoroughly – patience here prevents streaky results.
3. **Paint the Saucers:** While the pots dry, paint the saucers with the same terracotta or orange paint. These will become the segmented ridges of your pumpkin. Again, two coats are usually best.
4. **Create the Pumpkin Shape (Attaching the Saucers):** Once both the pots and saucers are completely dry, it’s time to assemble the pumpkin. Apply a generous amount of craft glue or hot glue around the rim of the pot. Carefully place the painted saucer on top of the glued rim, centering it as best as you can. Press down firmly and hold for a minute or two to ensure a good bond. The saucer acts as the top of your pumpkin, creating that lovely curved shape.
5. **Paint the Stem:** Now, for the stem! Use your brown or dark brown acrylic paint to paint a small section on the top of the saucer, creating a stem shape. You can make it a simple straight line or give it a bit of a curve.
6. **Add Texture and Detail (Optional):** This is where you can get creative! If you want a more rustic look, tie a piece of twine or raffia around the base of your painted stem. You can also use a slightly lighter shade of orange or white paint and a dry brush technique to lightly brush over the ridges of the saucer, mimicking the natural lines of a pumpkin and adding depth. A touch of antique white dry-brushed over the entire pumpkin can give it an aged, weathered feel.
7. **Let it Dry Completely:** Once all your painting and gluing is done, let everything dry thoroughly, ideally overnight, before handling or styling.
Adapting for Small Spaces and Rentals
Worried about drilling holes or limited space? Don’t be! These terracotta pumpkins are perfect for small spaces and renters.
* **No Drilling Required:** The beauty of this DIY is that it relies entirely on adhesive. You don’t need to drill anything. The saucers are glued onto the pots, and the pots themselves are freestanding.
* **Compact Styling:** Even a single, medium-sized terracotta pumpkin can make a lovely statement on a bookshelf, a windowsill, or a bedside table. Grouping smaller ones together creates a charming vignette without taking up excessive floor space.
* **Rental-Friendly Decor:** Because there’s no permanent alteration to anything, these are ideal for rental properties. You can simply pack them up and take them with you when you move!
Styling Your Terracotta Pumpkins: Color, Texture, and Placement
Once your pumpkins are dry and ready, it’s time to let them shine in your home.
* **Color Coordination:** Terracotta is wonderfully earthy and blends with so many palettes. They look stunning against natural wood tones, crisp whites, deep greens, and even soft greys. If your room leans towards a more neutral palette, these pumpkins will add a beautiful pop of warmth. For a bolder look, pair them with blues or even purples for a striking contrast.
* **Texture Play:** The matte finish of the terracotta itself provides a beautiful texture. To enhance this, consider placing them on a natural woven placemat, a chunky knit throw, or alongside other natural elements like dried leaves, pinecones, or small branches. If you added twine to the stem, this further amplifies the rustic feel.
* **Strategic Placement:**
* **Mantelpiece:** A classic spot. Arrange a cluster of varying sizes here, perhaps with some fairy lights or a garland.
* **Entryway:** A welcoming touch as guests arrive. Place a larger one on a console table or a smaller one on a entryway bench.
* **Kitchen Countertop:** Add a cozy autumn vibe to your cooking space. A couple of smaller ones can sit nicely next to your fruit bowl.
* **Bookshelf:** Break up the lines of your books with a charming pumpkin or two.
* **Dining Table Centerpiece:** A cluster of three or five of these can create a stunning, natural centerpiece for your autumn meals.
Remember to think about the overall composition. If you have a larger pumpkin, place it towards the back or center of your arrangement. Smaller ones can be placed in front or to the sides. Avoid overcrowding; sometimes, less is more.
Keeping Your Terracotta Treasures Tidy After Week One
The beauty of these DIY pumpkins is their low maintenance. After the initial excitement of their first week adorning your home, keeping them tidy is simple.
* **Dusting:** A soft dusting cloth or a feather duster is all you need. A quick wipe down every week or two will keep them looking their best and prevent dust from settling.
* **Spot Cleaning:** If you happen to get a little smudge or mark on them, a slightly damp cloth (not wet!) can usually take care of it. Be gentle, and always dry the area afterward.
* **Storage:** When the season is over, store them carefully. You can wrap them in tissue paper or bubble wrap and place them in a box. Storing them away from direct sunlight and extreme temperatures will help preserve their paintwork for years to come.
Common Mistakes That Can Make This DIY Fail
Even with a simple project, a few missteps can lead to less-than-stellar results. Here are the common pitfalls to avoid:
* **Rushing the Drying Time:** This is the number one culprit for streaky paint and weak bonds. Always let your paint dry *completely* between coats and before moving on to the next step. Hot glue gun glue can also lose its grip if the surfaces aren’t completely dry.
* **Using the Wrong Adhesive:** While regular white craft glue might work for very lightweight items, terracotta and saucers have some weight. Using a strong craft glue or a reliable hot glue gun is crucial for a bond that will last.
* **Poor Saucer Fit:** If your saucer doesn’t sit relatively flat on the pot’s rim, your pumpkin will look lopsided. Take the time to find saucers that complement the pots’ diameters well.
* **Over-Application of Paint:** While good coverage is important, excessively thick coats of acrylic paint can take a very long time to dry and may crack if handled too roughly. Two thin, even coats are better than one thick, gloopy one.
* **Ignoring the Environment:** If you plan to place your pumpkins outdoors (which I don’t highly recommend due to potential weather damage), ensure you use outdoor-specific paints and sealants. For indoor use, standard acrylics are perfect.
Making your own terracotta pumpkins is such a rewarding way to bring cozy autumn charm into your home. It’s a simple, budget-friendly project that results in beautiful, unique decor you’ll be proud of. Happy crafting, and enjoy your gorgeous handmade pumpkins!
Conclusion
There’s something incredibly rewarding about transforming everyday objects into charming decor. This terracotta pumpkin DIY tutorial offers a beautiful way to inject warmth and handmade style into your home. Imagine the subtle, cozy glow it adds to your entryway or mantelpiece – a delightful reminder of creativity and season that brightens your day, even in small moments.
Ready to get started? Your smallest first step is to gather your supplies! Even just acquiring the terracotta paint and a small pumpkin can be the beginning of your crafting journey today. For a touch of the tropics, try a lime green or coral hue on a pinecone, perfect for a bathroom shelf. On a tighter budget, use air-dry clay to sculpt miniature versions for your bookshelves.
We hope this project inspires you to embrace your creative side. Don’t stop here; explore more ideas to bring your unique vision to life throughout your home!