Easy Hair Bow Organizer: Budget DIY Ideas
A simple hair bow organizer can transform your daily routine and banish that nagging clutter! Do you ever find yourself digging through drawers, a tangle of ribbons and clips scattering everywhere, as you frantically search for the perfect bow before heading out the door? Yes, I know the feeling! Imagine a beautifully neat display, each precious bow perfectly in place, easily visible and accessible. It’s surprisingly achievable with a project that costs around $20 and takes less than an hour to complete. In this article, I’ll walk you through exactly how to create your own stunning and practical hair bow organizer, so you can say goodbye to tangled messes and hello to effortless style. Get ready to discover how easy it is to bring order and beauty to your accessories!
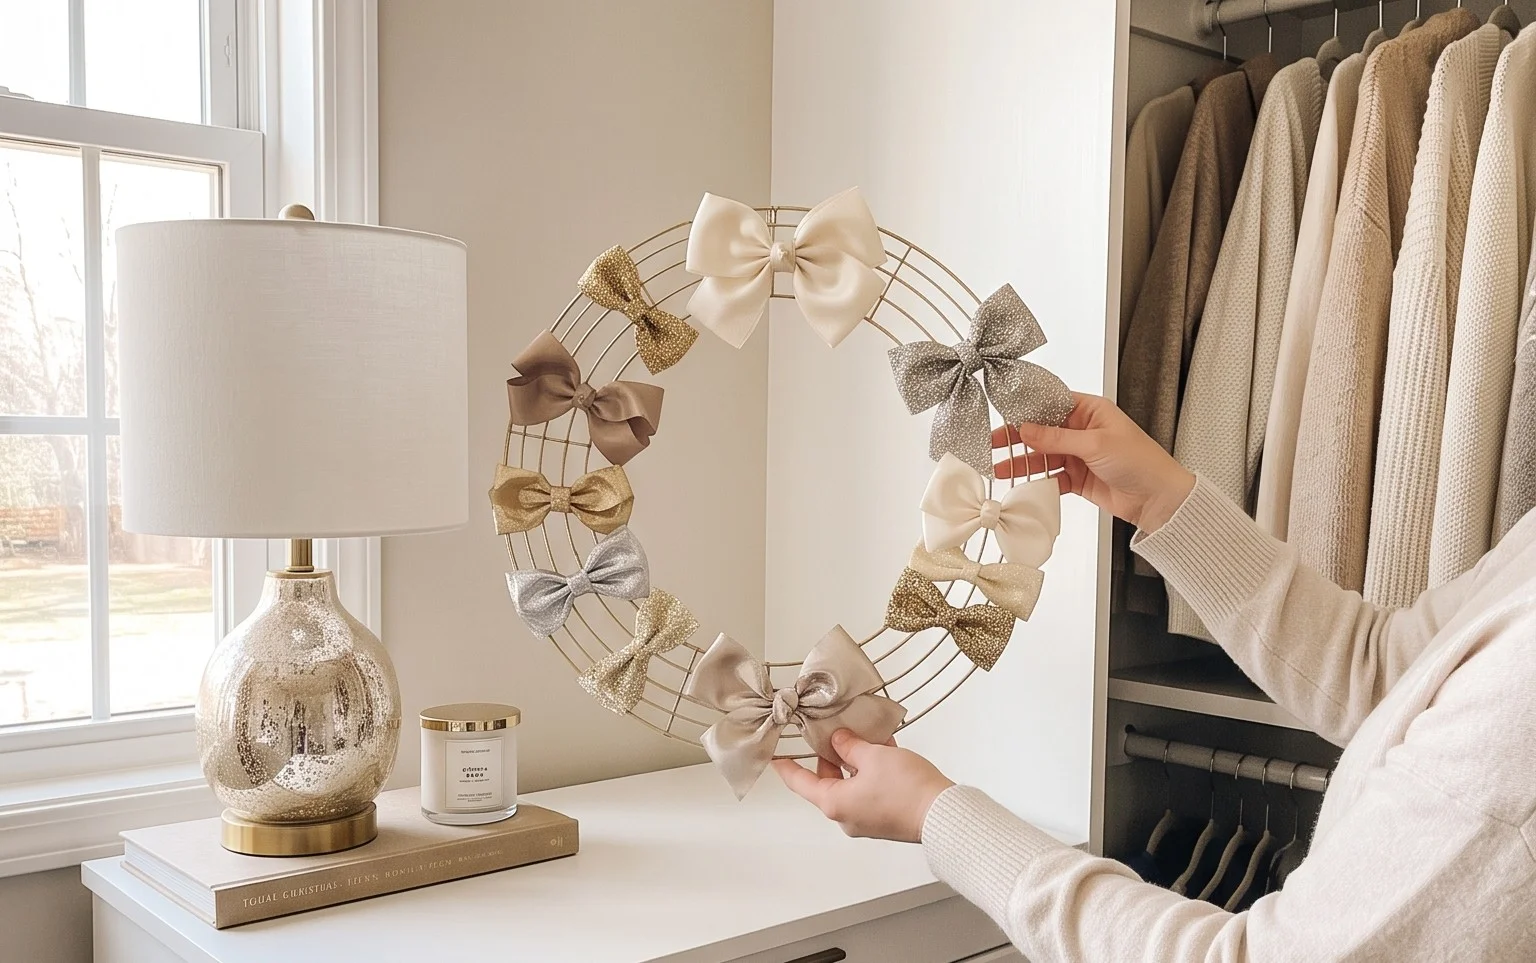
Transform Your Tangles: The Simple Hair Bow Organizer You Can Make Today
Is your little one’s hair accessory collection threatening to take over their dresser? Are you tired of digging through a jumbled mess to find the perfect bow for their outfit? I get it! As a busy parent, the thought of a complex DIY project can be overwhelming. But what if I told you that creating a functional and beautiful hair bow organizer is surprisingly simple, budget-friendly, and can be done in an afternoon? Today, I’m sharing my go-to method for a clutter-free hair bow haven that will bring a smile to your face (and save you precious morning minutes!).
What You’ll Need and Roughly What It Costs
The beauty of this project lies in its simplicity and affordability. You won’t need a workshop full of tools or a hefty budget. Here’s what I typically gather for one organizer:
* **A sturdy piece of wood:** This could be a wooden plaque, a piece of salvaged lumber, or even a thick piece of craft wood. I usually opt for something around 12 inches wide and 18 inches tall. You can find basic wooden plaques at craft stores for about $8-$15.
* **Several lengths of ribbon or twine:** I love using grosgrain ribbon for a classic look, but satin ribbon, baker’s twine, or even decorative rope works beautifully. For an 18-inch tall organizer, I usually need about 5-6 lengths of ribbon, each about 2 feet long. This usually costs around $5-$10 depending on the type and quantity.
* **Small screw eyes or cup hooks:** These are what will hold your ribbon loops. You’ll need about 8-12 of these. A pack of 12 screw eyes is typically under $5.
* **A drill with a small drill bit:** This is for pre-drilling holes for the screw eyes. If you don’t have a drill, you can often carefully screw them in by hand into softer wood, but pre-drilling makes it much easier.
* **A hammer (optional):** If you’re using cup hooks, a small hammer might be helpful to gently tap them in.
* **Scissors:** For cutting ribbon and string.
* **A measuring tape or ruler:** Essential for accurate placement.
* **A pencil:** For marking drill points.
The total estimated cost for this project is typically between $15 and $30, making it an incredibly cost-effective solution.
Measuring and Planning Before You Start
Before you grab your tools, a little planning goes a long way. Think about where you want to hang your organizer. Is it going to be on the back of a closet door? On a wall in a bedroom? On a side of a dresser? This will influence the size and the number of ribbons you’ll need.
For an 18-inch tall organizer, I like to space my ribbons about 2.5 to 3 inches apart. This gives enough room for multiple bows to hang without getting too crowded. I also consider the types of bows I have. If you have a lot of very large, fluffy bows, you might want to increase the spacing slightly.
Here’s my planning process:
1. **Measure your wood:** Note the width and height. This helps you visualize how many ribbons will fit.
2. **Decide on ribbon spacing:** For an 18-inch height, I aim for 5-6 horizontal lines of ribbon.
3. **Mark ribbon placement:** Using your ruler and pencil, lightly mark where each ribbon will attach to the wood, starting about 2 inches from the top and leaving about 2 inches from the bottom.
A Clear Numbered Walkthrough of the Process
Now for the fun part – creating your organizer!
1. **Prepare your wood:** If your wood piece is unfinished, you might want to give it a quick sand to smooth out any rough edges. You can also paint or stain it at this stage if you wish. Let it dry completely before proceeding.
2. **Mark screw eye locations:** Based on your planning, measure and lightly mark with your pencil where each screw eye will go on the front of your wood piece. I usually place them about 1 inch in from each side edge for each ribbon line.
3. **Pre-drill pilot holes:** Using your drill with a bit slightly smaller than the screw eye threads, drill a small pilot hole at each marked spot. This makes screwing in the hardware much easier and prevents the wood from splitting.
4. **Install screw eyes or cup hooks:** Carefully screw the screw eyes into the pilot holes by hand or with a screwdriver. If you’re using cup hooks, gently tap them in with a hammer until they are secure. Ensure they are all facing the same direction.
5. **Cut your ribbon/twine:** Measure and cut your 5-6 lengths of ribbon or twine to about 2 feet each. This length allows for a nice drape and enough to tie securely.
6. **Attach the ribbon/twine:** Take one length of ribbon. Thread one end through a screw eye, bring it around the back of the wood, and tie a secure knot on the back. Repeat this process for all the screw eyes, creating horizontal lines of ribbon. You can also tie a loop on one side and then thread the other end through the screw eye and tie it off on the back, creating a more finished look. I prefer tying them securely to the screw eyes on the back.
7. **Adjust and secure:** Once all your ribbons are attached, gently pull them taut and tie them securely to the opposite screw eyes. Ensure all your ribbons are at a similar tension to create a neat appearance.
Adapting for a Small Space or a Rental
Don’t have a lot of wall space or can’t put holes in your walls? No problem! This organizer is incredibly versatile.
* **Over-the-Door Hanger:** Purchase a simple over-the-door hook organizer (the kind with multiple hooks). You can then adapt the wood piece to hang from these hooks. You might need to add a couple of eye hooks to the top of your wood piece to thread the over-the-door hooks through. This requires no drilling into walls and is perfect for renters.
* **Command Strips:** For lighter wood pieces, you can use heavy-duty Command Strips on the back of the wood to attach it to a wall or closet door. Always check the weight limit for the strips and the wood.
* **Freestanding Option:** If you have a shelf or countertop space, you can lean a larger, more decorative wood plaque against the wall. You might want to add a small stand or easel to the back for stability.
* **Smaller Scale:** If space is really limited, you can create a smaller version. A 6-inch by 10-inch piece of wood with 3-4 ribbons can still hold a good number of bows and fit perfectly on a dresser or shelf.
Styling Notes: Colour, Texture, and Placement
The aesthetic of your organizer can be just as important as its function.
* **Colour Palette:** Consider the room where it will live. If it’s a nursery or a little girl’s room with a specific colour scheme, choose wood finishes and ribbon colours that complement it. For a neutral look, natural wood with white or beige ribbon is always elegant. For a pop of fun, consider bright colours or even patterned ribbon.
* **Texture Play:** Mix textures for visual interest. A smooth, painted wood with satin ribbon is chic. A rustic, unfinished wood with chunky baker’s twine can create a more bohemian feel. Grosgrain ribbon offers a nice subtle texture.
* **Placement of Bows:** This is where the “styling” really comes in.
* **Larger/Statement Bows:** Hang these on the top ribbons. They’ll be easily visible and make a statement.
* **Everyday Bows:** Place these on the middle ribbons. These are the ones likely to be grabbed most often.
* **Smaller/Delicate Bows:** The bottom ribbons are perfect for these. They might need a bit more space, and hanging them lower prevents them from getting squashed.
* **Team Similar Styles:** Try to group bows of similar styles or colours together on the same ribbon for a visually pleasing arrangement.
Once your organizer is up, take a moment to arrange the bows. Don’t just cram them on. Think of it like displaying artwork!
How to Keep It Tidy After Week One
The initial organization is the easy part; maintaining it is key.
* **The “One In, One Out” Rule (Kind Of):** When a new bow comes into the house, try to find a spot for it immediately. If a ribbon is full, you might need to remove an older, less-worn bow to make space.
* **Weekly Tidy-Up:** Set aside just 5 minutes each week, perhaps on a Sunday evening, to quickly straighten out any stray bows or re-arrange them if needed.
* **”Bow Bin” for Overstock:** If you have an excessive number of bows, consider a small decorative bin or basket on a shelf for overflow. This keeps the main organizer looking neat.
* **Involve the Little One:** If your child is old enough, teach them how to hang their bows back on the organizer. Making it a part of their routine is the most effective way to keep it tidy.
Mistakes That Make This Fail
Even the simplest projects can hit snags. Here are a few common mistakes I’ve seen (and made myself!):
* **Overcrowding:** Trying to cram too many bows onto each ribbon. This makes it hard to see what you have and can bend or damage the bows. Remember, more space between ribbons is often better.
* **Weak Fasteners:** Not securing the screw eyes or cup hooks properly. If they pull out, your organizer will literally fall apart. Pre-drilling is your friend here!
* **Ribbon That Stretches:** Using a ribbon that is too thin or stretchy can cause the organizer to sag over time, making it look messy and hard to hang bows on. Opt for sturdy grosgrain, velvet, or even sturdy twine.
* **Ignoring the Wood Base:** Using a flimsy piece of wood that bends or warps will make the whole organizer unstable. Ensure your base is strong enough to support the weight of the bows.
* **Not Planning for Growth:** If your child’s bow collection is rapidly expanding, consider making a slightly larger organizer from the start or planning for a second one to be added later.
Creating a beautiful and functional hair bow organizer doesn’t require a lot of time, money, or crafting expertise. With a few simple materials and a little bit of planning, you can conquer that hair accessory chaos and bring a touch of organized beauty to your home. Happy organizing!
Conclusion
A simple hair bow organizer truly makes a difference in your daily routine. No more frantic searching before school or work – just grab and go! This small change can bring a surprising amount of calm and efficiency to your mornings. Ready to tackle that bow collection? Your smallest first step today could be as simple as finding a spare ribbon or an empty jar. For a different vibe, consider a decorative wall-mounted pegboard in the bathroom for a quick grab-and-go solution, or even a clear plastic shoe organizer hung inside a closet door for a budget-friendly, see-through option. Keep exploring for more delightful home decor and organization ideas to simplify your life!
