Easy Office Organization Ideas for Joyful Homes
Office Organization Ideas are the key to transforming that chaotic corner of your home into a serene and productive sanctuary. Do you find yourself wading through piles of paperwork, searching endlessly for that important document, or tripping over stray supplies? If your workspace feels more like a disaster zone than a place for inspiration, I’ve been there too!
Imagine a space where everything has its place, a visually pleasing area that sparks creativity and makes your to-do list feel manageable. The best part? Achieving this joyful homemaking bliss doesn’t require a huge budget or days of your life. Many impactful solutions can be implemented in an afternoon for under $50. In this article, I’ll share simple yet effective strategies to declutter, categorize, and style your home office, so you can finally enjoy coming to work in your own home.
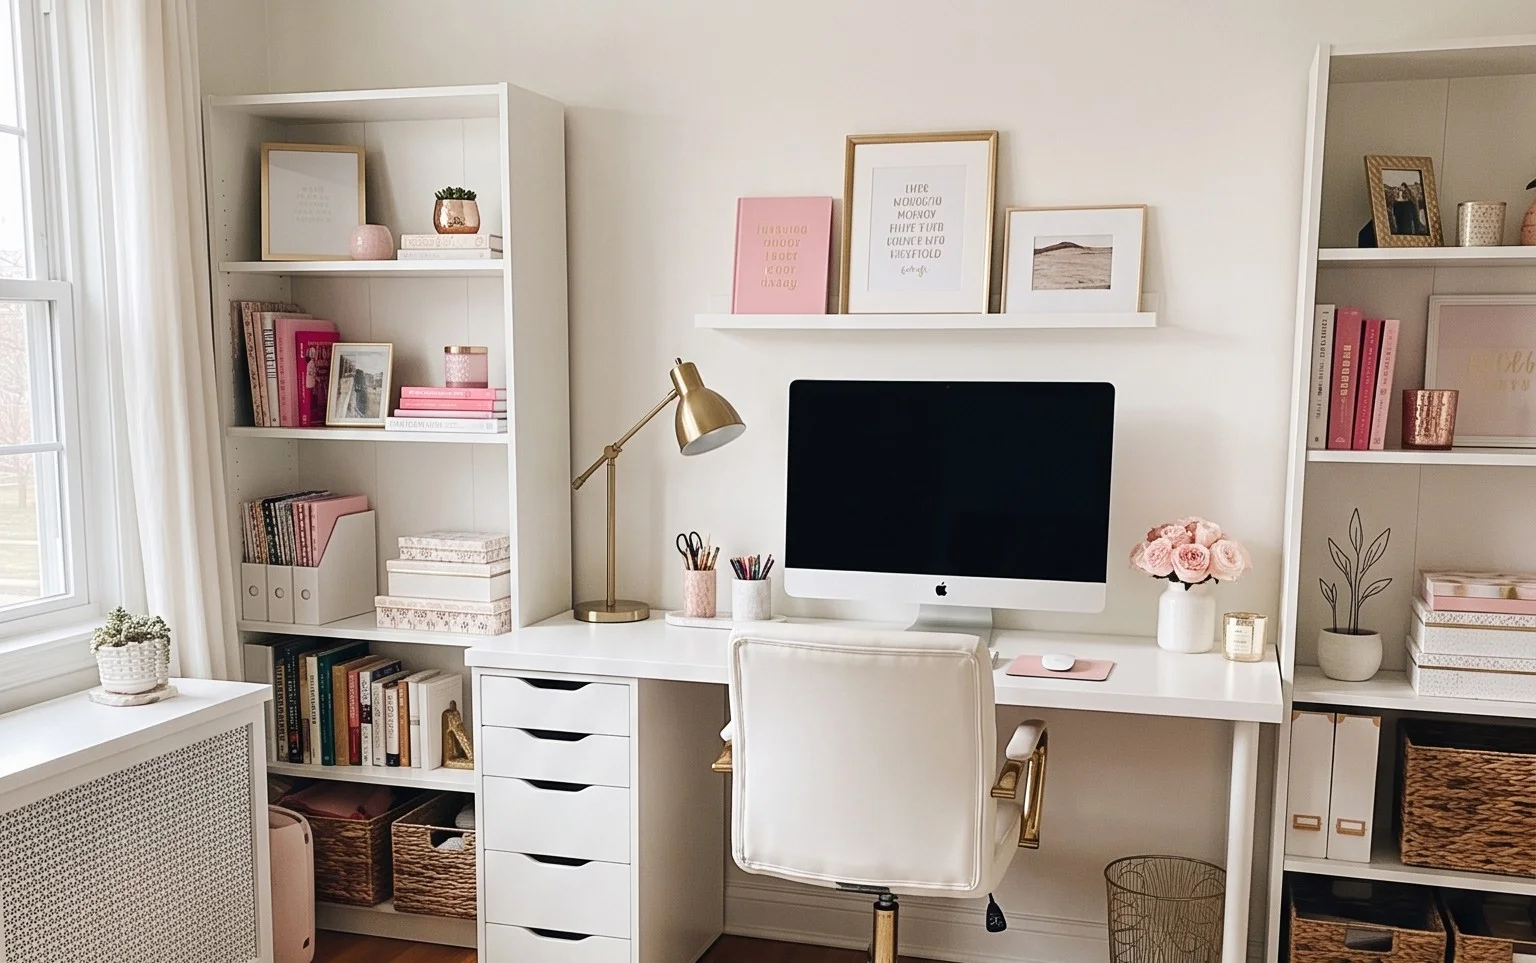
Office Organization Ideas: Creating a Joyful Homemaking Hub
Hello, fellow homemakers! Today, I want to talk about a space that often gets overlooked in the quest for a joyful home: the office. Whether it’s a dedicated room or a corner carved out of a living area, our office space is where productivity meets possibility. But let’s be honest, it can also become a breeding ground for clutter and stress. That’s why I’m excited to share my favorite office organization ideas to transform your workspace into a functional, beautiful, and yes, *joyful* homemaking hub.
What You Need (and Roughly What it Costs)
Before we dive in, let’s talk about setting ourselves up for success. The beauty of organization is that it doesn’t have to break the bank. Here’s a general idea of what you might need and an estimated cost. Remember, these are rough figures, and you can always find great deals or repurpose items you already own!
Essential Organization Tools:
- Desk Organizers: This can include pen cups, letter sorters, and small tray organizers. Budget-friendly options can be found at places like IKEA or Amazon starting around $15-$30. More decorative or modular systems might range from $50-$100.
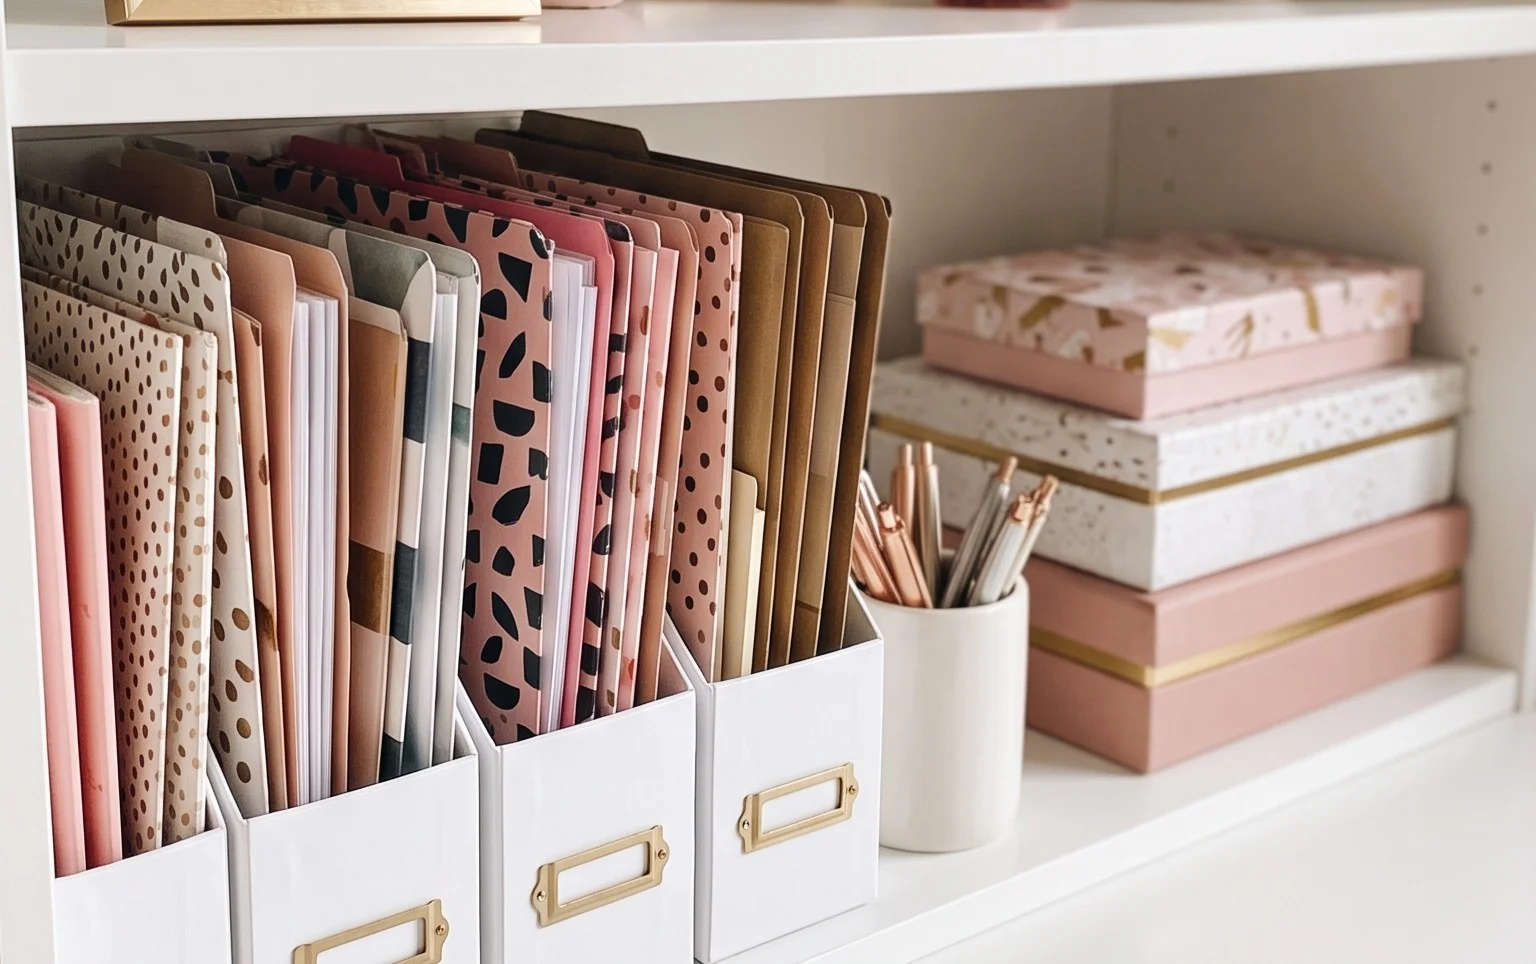
- File Storage: This could be a filing cabinet (new from around $50-$150, or a great secondhand find!), magazine holders ($10-$30 for a set), or even stylish storage boxes ($20-$50 for a few).
- Shelving: Wall shelves or a small bookshelf can dramatically increase vertical storage. Floating shelves can be as low as $20-$40 for a set of two. A basic bookshelf might start at $40-$80.
- Cable Management: Nobody likes a spaghetti junction of wires! Cable clips, ties, or a management box can cost as little as $10-$20.
- Lighting: Good lighting is crucial for productivity and eye strain reduction. A desk lamp can range from $20-$60.
- Waste Bin & Recycling Bin: Essential for keeping things tidy. Basic bins are around $10-$25 each.
- Optional Decorative Touches: A plant, a picture frame, a nice rug. These add personality and joy and can be as little as $10-$50.
So, for a solid, functional setup, you’re looking at an initial investment of roughly $150-$400, depending on your choices and the size of your space.
Measuring and Planning Before You Start
This is where the magic truly begins! Rushing into buying organizers without a plan is a recipe for wasted money and continued clutter. Let’s get intentional.
The Planning Process:
- Assess Your Needs: What do you *actually* do in your office space? Do you have a lot of papers? Digital files? Craft supplies? Think about the frequency of use for different items.
- Measure Your Space: Grab your tape measure! Measure the dimensions of your desk, the walls where you might put shelves, and any existing furniture. Note down the width, depth, and height clearances. For example, if you’re looking at a filing cabinet, make sure it will fit under your desk (typically 24-28 inches high) or in its intended spot. Measure your drawers – knowing you have 15 inches of depth can help you choose the right drawer organizers.
- Declutter Ruthlessly: Before you buy a single thing, go through *everything*. Shred old documents, recycle junk mail, donate items you no longer need. Be honest with yourself. This is a crucial step – you don’t want to organize clutter!
- Categorize Your Items: Group similar items together. All pens in one pile, all notebooks in another, all bills and receipts together. This helps you see what you have and how much storage you’ll need for each category.
- Sketch It Out: On a piece of paper, draw a rough floor plan of your office space. Then, sketch where you envision your desk, shelves, and storage solutions going. This visual representation will help you optimize flow and functionality.
By taking these steps, you’ll be armed with the knowledge to make smart purchasing decisions and create a layout that truly works for you.
The Walkthrough: Creating Your Organized Oasis
Now for the fun part – the actual organizing! Here’s a step-by-step guide to help you transform your space.
- Clear the Decks: Before you place anything, ensure your desk and any surfaces are completely clear. Give them a good wipe down.
- Position Your Furniture: Place your desk, bookshelf, and any larger storage units according to your plan. Consider natural light and power outlet access.
- Install Shelving (if applicable): If you’re adding shelves, now is the time. For wall shelves, typically two screws per bracket are sufficient for most lightweight items. If you’re installing a bookshelf, ensure it’s stable and level.
- Tackle Desk Drawer Organization: Use drawer dividers, small containers, or even cut-up cardboard boxes to create zones within your drawers. Keep frequently used items like pens, notepads, and staplers within easy reach in your top drawers.
- Implement Desktop Organization: Place your pen cups, letter sorters, and small organizers on your desk. Use the letter sorter for incoming and outgoing mail or for active projects.
- Set Up File Storage: If using a filing cabinet, assign labels to your drawers (e.g., “Bills,” “Personal,” “Work Projects”). If using magazine holders or storage boxes for papers, label them clearly.
- Manage Your Cables: Use cable clips to secure wires to the back of your desk or use a cable management box to hide them neatly.
- Add Lighting: Position your desk lamp where it provides adequate light for your tasks, minimizing glare on your screen.
- Style and Personalize: Place your decorative items strategically. Add a plant to a shelf, a framed photo on your desk, or a small rug to define the space.
- Final Sweep: Put away any remaining items, ensuring everything has a designated home.
This methodical approach ensures that every item has a place, making it easier to maintain order.
Adapting for Small Spaces and Rentals
Don’t have a dedicated office room, or are you renting and can’t drill holes? No problem! We can still create a beautiful and functional workspace.
Small Space Solutions:
- Vertical Storage is Key: Utilize wall space with floating shelves or stackable organizers. Look for narrow, tall bookshelves that take up minimal floor space.
- Multi-functional Furniture: Consider a desk with built-in drawers or a storage ottoman that can double as seating and a place to stash supplies.
- Corner Desks: These are fantastic for maximizing often-unused corner space.
- Wall-Mounted Organizers: Pegboards are a renter’s dream! You can hang almost anything on them with the right hooks and baskets.
Rental-Friendly Options (No Drilling!):
- Command Strips and Hooks: These adhesive solutions are your best friend! They hold surprisingly well for shelves (look for weight limits!), organizers, and even small framed art.
- Freestanding Shelving Units: A tall, narrow bookshelf that leans against the wall or a modular cube system requires no installation.
- Over-the-Door Organizers: These can be used for files, craft supplies, or even shoes if your office is in a closet!
- Tension Rods: Use them in closets to hang file folders or create dividers.
- Contact Paper or Peel-and-Stick Wallpaper: This can instantly update boring shelves or desk surfaces without permanent changes.
With a little creativity, even the most compact or restricted spaces can become a joy to work in.
Styling Notes: Making it Look Good (and Stay That Way!)
Organization isn’t just about function; it’s about creating a space that makes you *feel* good.
Color and Texture:
- Color Palette: Choose calming colors like soft blues, greens, or neutrals for your main organizing containers. You can then add pops of brighter, happier colors in smaller accents like pens, desk accessories, or a throw pillow if you have a chair.
- Texture: Mix textures for visual interest. Think woven baskets for a natural feel, sleek acrylic organizers for a modern look, or a soft rug underfoot to add warmth.
- Consistency is Key: Try to stick to a cohesive style for your main storage solutions. For example, all your magazine holders and storage boxes could be a similar material or color.
What to Put Where:
- Prime Real Estate: The items you use most frequently should be within arm’s reach on your desk or in the top drawers. Think pens, a notepad, your phone charger.
- Secondary Storage: Items used less often, like extra stationery or project files, can go in drawers, on lower shelves, or in designated bins.
- Decorative Elements: Plants, photos, and art should be placed where they bring you joy without cluttering your workspace. A well-placed plant on a shelf or a inspiring quote on the wall can make a big difference.
- “In” and “Out” Trays: Dedicate one tray for incoming items (mail, things to process) and another for outgoing items (things to file, mail to send). This creates a visual flow.
Remember, the goal is a space that is both efficient and aesthetically pleasing.
Keeping it Tidy After Week One
The initial organization is a fantastic achievement, but maintaining it is where true organizational bliss lies.
- The 5-Minute Tidy: At the end of each workday, dedicate just 5 minutes to putting things back where they belong. Clear your desk, file any stray papers, and put away supplies. This small habit prevents clutter from accumulating.
- One In, One Out Rule: When you bring a new item into your office (e.g., a new notebook, a new pen), try to get rid of an old one. This keeps your inventory in check.
- Weekly Reset: Once a week, take 15-20 minutes for a slightly deeper tidy. Go through your “in” tray, file any accumulated papers, and wipe down surfaces.
- Regular Purges: Schedule a quarterly or bi-annual decluttering session to reassess what you truly need.
Consistency is more important than perfection. Little and often is the mantra!
Mistakes That Make This Fail
We all make them, but understanding common pitfalls can help us avoid them.
- Buying Too Much Too Soon: Resist the urge to buy all the organizers at once. Plan, measure, and then buy what you need.
- Not Decluttering First: Organizing clutter is just shuffling it around. Be ruthless in your decluttering phase.
- Not Having a “Home” for Everything: If an item doesn’t have a designated spot, it will inevitably end up as clutter.
- Overly Complicated Systems: If your organization system is too hard to maintain, you won’t stick with it. Keep it simple and intuitive.
- Ignoring the “Joy” Factor: If your office feels sterile or uninspiring, you’re less likely to want to spend time in it or keep it tidy. Add personal touches that make you happy!
- Not Adapting to Your Needs: Your organizational needs may change over time. Be willing to adjust your system as your work habits evolve.
Creating an organized and joyful office space is an ongoing process, not a one-time event. By implementing these ideas, you’ll be well on your way to a more productive, peaceful, and inspiring homemaking hub. Happy organizing!
Conclusion
Implementing these office organization ideas can truly transform your workspace, making each day feel calmer and more productive. The difference a tidy desk and functional system makes is immediate, reducing stress and freeing up mental energy for what matters most. Don’t feel overwhelmed by a complete overhaul; your smallest possible first step could be as simple as clearing and wiping down your desk surface. Ready to bring joy to another space? Try decluttering your kitchen counter or organizing your entryway with these same principles. For more inspiration and practical tips to create a joyful home, continue exploring our other articles!
