Kallax Carousel Spinner: Easy Ikea Decor Ideas
The wicked cool Ikea Kallax carousel spinner is about to revolutionize your living space! Are you tired of that maddening shuffle to find the right book, the remote that’s always *just* out of reach, or that game disc buried deep within your Kallax cube? I know I was! Imagine a Kallax unit that gracefully spins, revealing your treasures with a simple touch, transforming that cluttered corner into a beautifully organized, easily accessible display. This clever upgrade can be yours for under $50, and the whole project can be completed in under an hour. In this article, I’ll walk you through exactly how to build and install this game-changing spinner, so you can finally enjoy a Kallax that works *for* you, not against you.
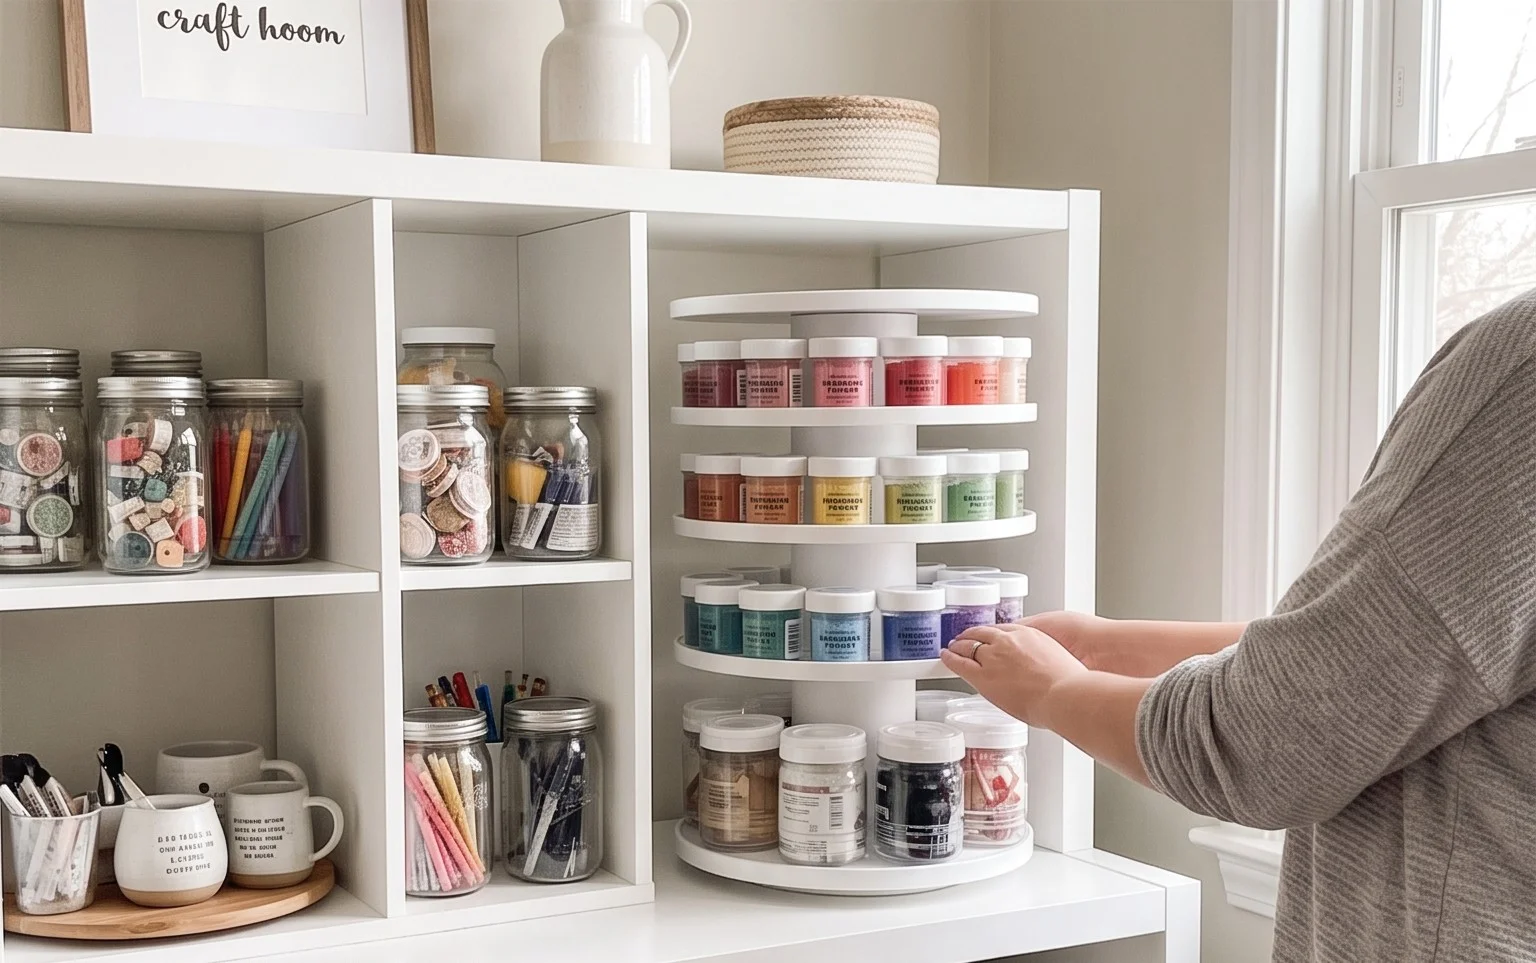
The Wicked Cool IKEA Kallax Carousel Spinner: Your Secret Weapon for Style and Sanity
Let’s be honest, the IKEA Kallax unit is a bit of a unicorn in the world of affordable home furnishings. It’s versatile, it’s stackable, and it fits into almost any room. But, as much as we love it, the Kallax can sometimes feel… well, static. It just sits there, a rectangular block of potential. What if I told you there’s a way to inject a dynamic, stylish, and incredibly functional twist into your Kallax? Enter the Kallax Carousel Spinner.
This isn’t just about making your shelves spin. It’s about transforming your Kallax from a storage unit into a functional piece of art that brings ease and accessibility to your everyday life. Imagine being able to reach that book in the back, that craft supply you need, or that collection of decorative items with a simple, smooth spin. It’s a game-changer, and honestly, it’s wickedly cool.
I’ve been playing around with this idea for a while, and I’m thrilled to share how you can create your very own Kallax Carousel Spinner. It’s surprisingly simple, budget-friendly, and the results are just *chef’s kiss*.
What You Need (and What It Costs)
This project is all about embracing the DIY spirit without breaking the bank. The good news is that you likely have some of these items already!
Here’s your shopping list, with rough price estimates:
- **Your IKEA Kallax Unit:** The size is up to you! A 2×2, 4×2, or even a 5×5 can be transformed. Let’s assume you have a standard 4×2 Kallax (approximately 77cm wide x 147cm high x 39cm deep). If you don’t have one, expect to pay around £70-£150 depending on size and finish.
- **Heavy-Duty Swivel Plate/Turntable Bearing:** This is the heart of your carousel! You want something robust that can handle the weight of your Kallax filled with stuff. Look for ones designed for heavy loads, like those used for industrial machinery or large furniture. Aim for a diameter of at least 30cm (12 inches) to provide good stability for a Kallax. You can find these online for around £25-£50.
- **Wood Screws:** You’ll need screws that are long enough to securely attach the swivel plate to both the Kallax and the base, but not so long that they go all the way through. For most Kallax constructions, 2cm (3/4 inch) to 3cm (1 1/4 inch) screws should work perfectly. A small box of about 20 screws will cost around £3-£5.
- **Wood Board for the Base:** This is crucial for stability. A piece of plywood or MDF that is at least the width and depth of your Kallax, or slightly larger, is ideal. For a 4×2 Kallax, aim for a board that’s roughly 80cm x 40cm (31.5 inches x 15.75 inches) and at least 18mm (3/4 inch) thick for maximum sturdiness. Depending on where you source it, this can cost anywhere from £10-£30. Consider checking scrap wood yards or asking at your local hardware store for offcuts – you might get lucky!
- **Drill and Drill Bits:** You’ll need a drill to create pilot holes and drive in the screws. Standard drill bit sizes should suffice. If you don’t own one, renting one for a day is a budget-friendly option.
- **Measuring Tape:** For precision.
- **Pencil:** For marking.
- **Optional: Sandpaper:** To smooth any rough edges on your base board.
- **Optional: Paint or Stain:** To match your base board to your décor.
So, for a complete setup, you’re looking at a rough investment of £108 – £235, depending on whether you already own the Kallax and drill, and where you source your materials. It’s a small price to pay for a significant upgrade in functionality and style!
Measure Twice, Drill Once: Planning is Key
Before you even think about picking up a drill, let’s talk planning. This is where we ensure our carousel is not just functional, but safe and aesthetically pleasing.
1. **Assess Your Kallax:** First, decide which Kallax unit you’re using. The number of cubes will influence the size of your base board and the load on your swivel plate. A larger Kallax will require a more robust swivel plate and a thicker, larger base.
2. **Measure Your Kallax:** Get out that measuring tape! Accurately measure the width and depth of your Kallax unit at its widest points. For a standard 4×2 Kallax, this is typically around 77cm x 39cm. This will inform the size of your base board.
3. **Choose Your Base Board Size:** You want your base board to be slightly larger than your Kallax. A good rule of thumb is to add about 2-3cm (around 1 inch) to each dimension. So, for our 77cm x 39cm Kallax, an 80cm x 42cm base board would be perfect. This overhang provides stability and prevents the Kallax from tipping when rotated.
4. **Position the Swivel Plate:** This is critical for balance. You want to place the swivel plate as close to the centre of your Kallax as possible. Lay your Kallax face down on a flat surface. Find the exact centre of the unit and mark it. Then, place your swivel plate on top of that centre point and mark the positions of its screw holes. Repeat this process on your base board, finding its centre and marking the swivel plate’s screw hole positions there. Ensure the markings on the Kallax and the base board are aligned so the Kallax sits directly on top of the spinning mechanism.
5. **Consider Your Space:** Think about where this carousel will live. How much space do you have around it for it to spin freely? A full 360-degree rotation needs clearance. If you have limited space, you might need to adjust the placement of your Kallax or accept that it won’t spin the full way.
The Transformation: A Step-by-Step Walkthrough
Now for the fun part! Let’s get building.
- **Prepare Your Base Board:** If you’re using a new piece of wood, you might want to give it a quick sand to smooth any rough edges. If you’re feeling fancy, now’s the time to paint or stain it to match your décor. Let it dry completely.
- **Attach the Swivel Plate to the Base:** Flip your base board over so the side you want to be the bottom is facing up. Place your swivel plate onto the marked centre point, ensuring it’s perfectly aligned. Using your drill and appropriate drill bit, create pilot holes through the screw holes of the swivel plate into the base board. Pilot holes prevent the wood from splitting. Once the pilot holes are drilled, secure the swivel plate to the base board with your wood screws. Make sure they are snug but don’t overtighten.
- **Prepare Your Kallax:** Carefully lay your Kallax unit face down on a clean, flat surface. You might want to place a blanket or some old towels underneath to protect the finish.
- **Attach the Kallax to the Swivel Plate:** This is the trickiest part. You need to align the Kallax so its base is directly on top of the swivel plate. Carefully lift your assembled base with the attached swivel plate and position it onto the back of your Kallax, aligning the centre of the swivel plate with the centre of the Kallax base. You want the Kallax to sit squarely on the plate.
- **Mark and Drill Pilot Holes in the Kallax:** With the Kallax sitting on the swivel plate, use your pencil to mark the screw hole positions from the swivel plate onto the base of the Kallax. Once marked, lift the Kallax off the swivel plate. Drill pilot holes into the Kallax base at your marked points.
- **Secure the Kallax to the Swivel Plate:** Now, align the Kallax back onto the swivel plate, ensuring the pilot holes line up with the screw holes on the swivel plate. Using your drill and wood screws, carefully screw the Kallax to the swivel plate. Drive the screws through the Kallax base and into the swivel plate. Again, ensure they are secure but avoid overtightening.
- **The Grand Reveal:** Carefully flip your Kallax carousel upright. Give it a gentle push and watch it spin! Congratulations, you’ve just created a functional and stylish Kallax carousel!
Small Space or Rental? No Problem!
The beauty of this project is its adaptability.
- **Small Spaces:** For a tiny apartment or a nook, you might opt for a smaller Kallax unit like a 2×2 or 4×1. The principle remains the same, but you’ll need a smaller base board and potentially a slightly lighter-duty swivel plate. The key is to ensure the base board is still larger than the Kallax for stability.
- **Rentals (No Drilling!):** This is where we get creative! Instead of screwing the swivel plate directly into the Kallax, we need an alternative. My go-to for rentals is to use heavy-duty, non-slip matting and strong adhesive hooks or clamps.
- Place a large piece of non-slip matting (like those used for rugs or in garages) on the floor.
- Position the Kallax on top of the matting.
- Place the swivel plate on the floor where you want the Kallax to sit.
- Use strong, industrial-grade double-sided tape or temporary wall adhesive strips (like Command strips, but very heavy-duty ones) to adhere the swivel plate to the non-slip matting. This will hold it in place.
- For the Kallax itself, you can again use heavy-duty double-sided tape or strong Command strips to adhere the base of the Kallax to the top of the swivel plate. This is less permanent than screws and can be removed with minimal damage. It requires a very secure bond, so opt for the strongest adhesive options available for your specific floor and Kallax surface. You’ll need to test this thoroughly to ensure it holds!
- Alternatively, you could create a very sturdy, slightly larger base board that the Kallax sits *on*, and then attach the swivel plate to *that* base board. Then, simply place the entire unit on the floor. The weight of the Kallax and its contents should keep it stable, especially with the added surface area of the slightly larger base.
Styling Notes: Making it Look Good (Even When Full!)
A spinning Kallax isn’t just about utility; it’s a statement piece!
- **Colour Palette:** Stick to a cohesive colour scheme. If your Kallax is white, consider a painted wood base in a contrasting colour like a deep navy, a natural wood stain, or even a bold pop of colour. If your Kallax is black or wood-effect, a natural wood base or a painted base that complements your room’s existing colours will work beautifully.
- **Texture Play:** Mix textures within the cubes. Think about woven baskets for soft storage, sleek acrylic boxes for visual neatness, and the varied textures of books and decorative objects. The spinning motion will naturally draw attention to these curated displays.
- **What to Put Where:** This is where the carousel truly shines.
- **Books:** Group books by size or colour. Place frequently accessed books on the outer edges where they are easily reachable. Less-used or decorative books can go towards the back.
- **Craft Supplies:** Dedicate specific cubes to different crafts. Spin it around to find your yarn, paints, or sewing notions with ease. Use clear containers so you can see what’s inside at a glance.
- **Decorative Items:** Curate vignettes of your favourite objects. Use the spinning feature to rotate them on display, giving your room a fresh look regularly. Think of it as a dynamic art installation!
- **Games and Puzzles:** Perfect for families! All your board games and puzzles can be neatly stored and spun around to find the perfect evening’s entertainment.
- **Think About Balance:** Evenly distribute the weight. While the swivel plate is strong, avoid loading one side disproportionately heavy. This will ensure smooth spinning and prevent strain on the mechanism.
Keeping it Tidy After Week One
The magic of a carousel is that it makes tidying *easier*. But still, a little effort goes a long way.
- **The “One In, One Out” Rule:** For books and decorative items, try to adopt this philosophy. When you bring something new in, consider if something else can go out.
- **Designated Homes:** Ensure every item has a “home” within a cube or a basket. When you’re done with something, put it back immediately. The ease of access means there’s no excuse!
- **Regular Dusting:** Spin the Kallax and give each cube and surface a quick dust at least once a week. It’s much easier when you can rotate everything!
- **Basket Bliss:** Use baskets for smaller, easily misplaced items like remote controls, stationery, or charging cables. It keeps them contained and makes a quick tidy up a breeze. Just grab the basket and put it back in its designated cube.
- **Weekly “Spin and Refine”:** Once a week, take a few minutes to spin the Kallax and quickly assess its contents. Are things starting to look cluttered? Is anything out of place? A quick shuffle can make a big difference.
The Mistakes That Make This Fail
Even the coolest projects can go awry if we’re not careful. Here are a few pitfalls to avoid:
- **Using a Cheap, Weak Swivel Plate:** This is the most common mistake. If it can’t handle the weight, it will bend, seize up, or break, rendering your entire project useless and potentially damaging your Kallax. Invest in a good quality, heavy-duty bearing designed for significant load.
- **An Undersized or Unbalanced Base Board:** A Kallax is heavy, especially when filled. If your base board is too small or not properly secured, the whole unit can become unstable and tip when rotated. Always ensure the base is larger than the Kallax and securely attached to the swivel plate.
- **Drilling Incorrectly:** Not creating pilot holes can split the wood of your Kallax or base board, weakening the structure. Overtightening screws can also strip the holes, leading to a wobbly connection. Go slow and be gentle.
- **Ignoring Weight Distribution:** While the swivel plate is strong, a heavily lopsided load will make spinning difficult and put unnecessary strain on the mechanism. Distribute weight as evenly as possible.
- **Insufficient Clearance for Spinning:** Forgetting to account for the space needed for a full 360-degree rotation is a common oversight. You don’t want your beautiful spinning Kallax to bang into a wall or furniture every time you use it. Plan your placement carefully!
- **Overloading the Kallax:** While the carousel mechanism is robust, the Kallax unit itself has weight limits. Don’t try to stuff it with extremely heavy items in every single cube.
Creating a Kallax Carousel Spinner is a rewarding DIY project that adds a unique blend of style and functionality to your home. With a little planning and the right materials, you can transform a simple storage unit into a dynamic, accessible, and downright wicked cool centerpiece. Happy spinning!
Conclusion
The seemingly simple addition of a wicked cool Ikea Kallax carousel spinner can truly transform your space, making everyday organization a breeze. No more digging for that elusive item or struggling to reach something in the back – everything is now effortlessly accessible. Imagine the time and frustration saved, day in and day out!
Ready to experience this convenience? Your smallest first step is to identify one Kallax unit in your home that could benefit most and simply add a spinner to it today. It’s an instant upgrade!
Variations for Other Spaces:
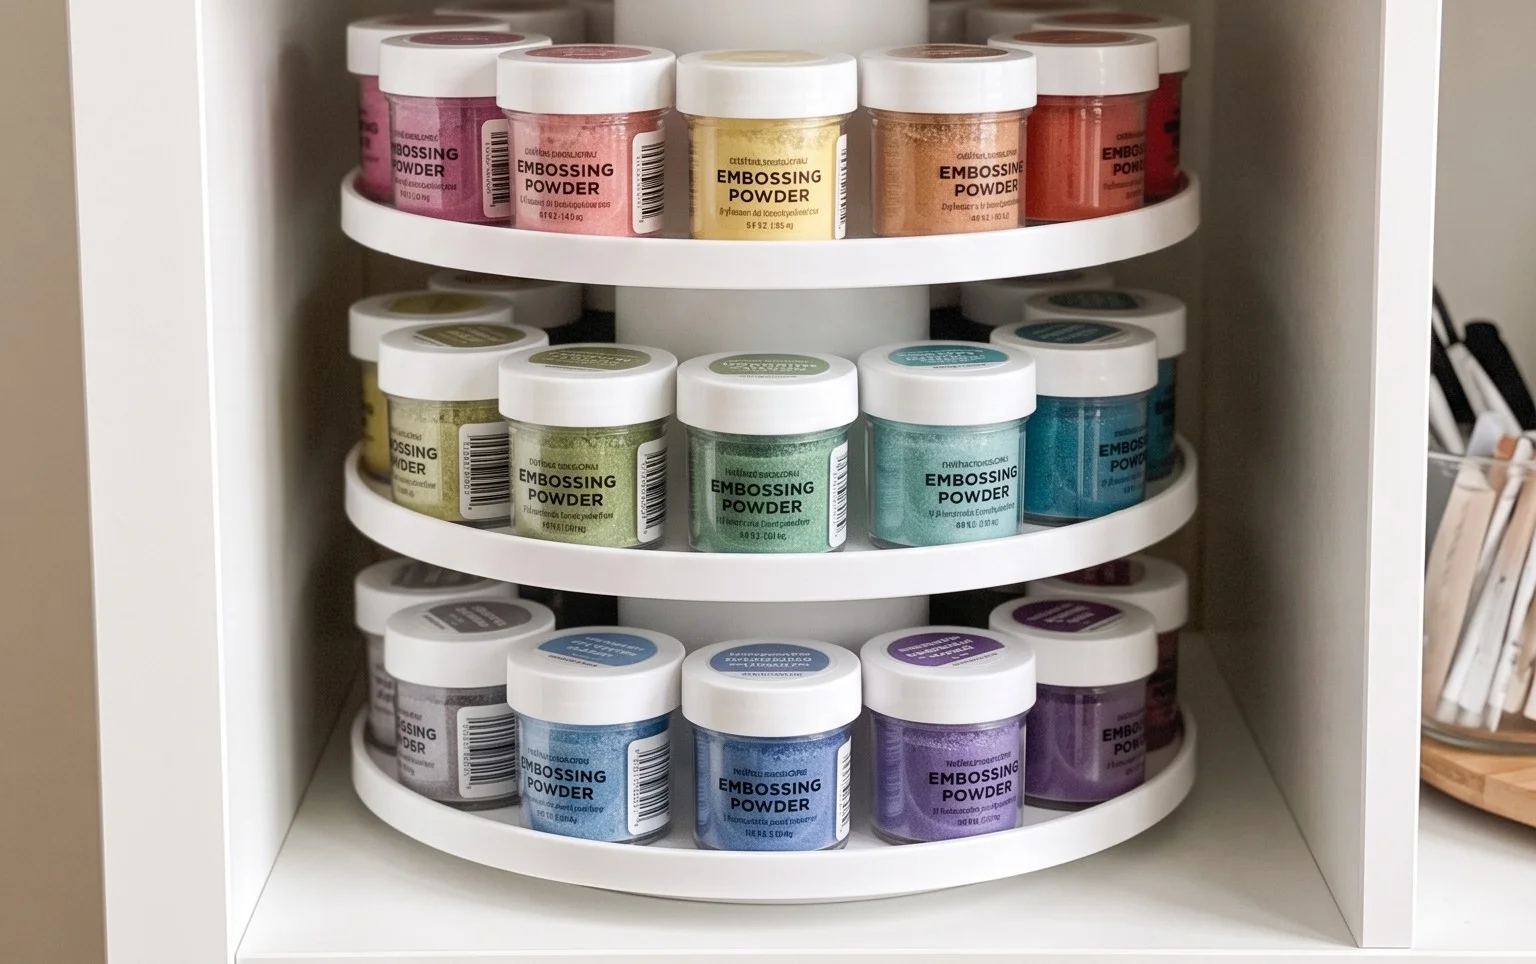
For a craft room: Consider a smaller spinning organizer for your art supplies. For a budget-friendly alternative: Use simple rotating shelves within existing drawers.
We hope this inspires you to bring a little more ease and style into your home. Feel free to explore more clever organization solutions with us!
